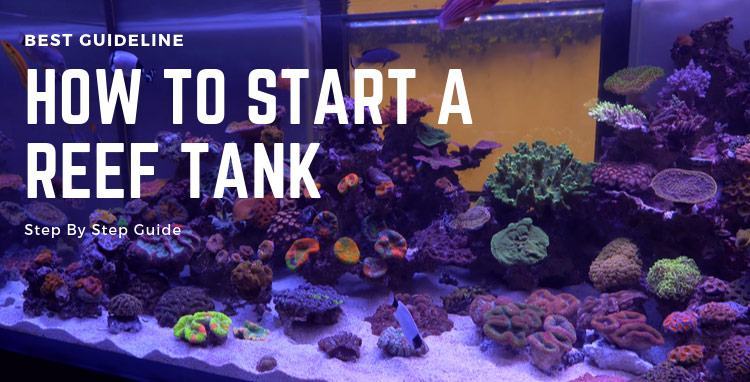
Unlike any other fish lover that focuses on a freshwater fish tank, you might feel more interested in a marine aquarium. Therefore, a saltwater aquarium will be the most popular starting point for every marine tank beginner. But how about a reef tank, is that different from a saltwater tank, and how to start a reef tank step by step even for the very beginners?
Via YouTube: The Best Reef in Australia – Evan Luo’s Glorious SPS Aquarium
Don’t need to worry since this following guide with cover your knowledge and tips for quickly setting a saltwater reef tank.
Get to Know More Explicit About a Reef Tank
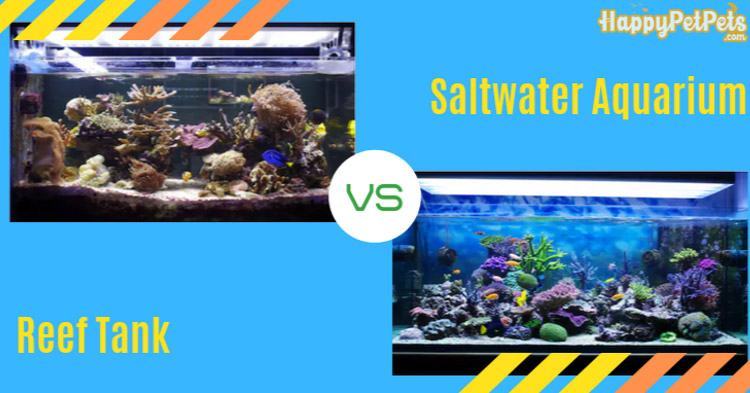
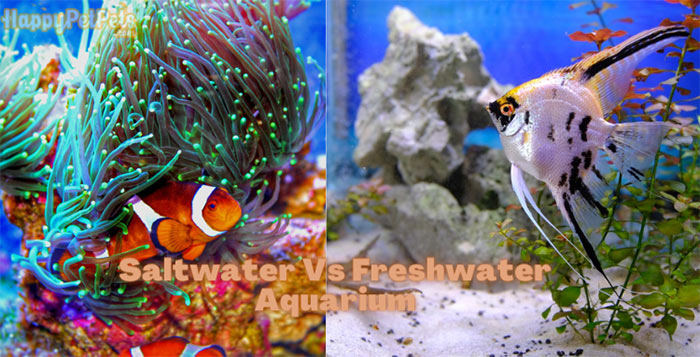
What is the difference between a reef tank vs. a saltwater aquarium
1. What is the difference between a reef tank vs. a saltwater aquarium
A reef tank is a kind of saltwater aquarium that has corals in it and requires more care. Saltwater tanks can also have coral, but for a reef tank, coral is sometimes even more important than the fish.
2.What is a nano reef tank
Nano reef tank is basically a reef tank in a smaller size. Usually, the nano reef tank will have a compact design that less than 30 or 40 gallons. A lot of people also consider a reef tank that smaller than 10-gallon is a nano reef. If it is less than 5 gallons, you can call it a pico reef tank.
3. Pros/cons of a nano reef tank
- Nano reef tank is cheaper than normal reef tank
- It is much easier to maintain
- Nano reef tank is a religion for everyone that loves tiny things
- It is more stable and be adjusted effortlessly
- Minimal tasks for setting up
- Limit in fish type to raise due to its small size
- More focus on coral than the fish
- Requires more patience for the entire process
4. Which is the best nano reef tank
You can buy a whole package of nano reef tank like:
- Red Sea max nano reef tank
- Biocube nano reef tank of Coralife
- Fluval nano reef tank
- JBJ nano reef tank
- Nuvo nano reef tank
Preparation for a Reef Tank
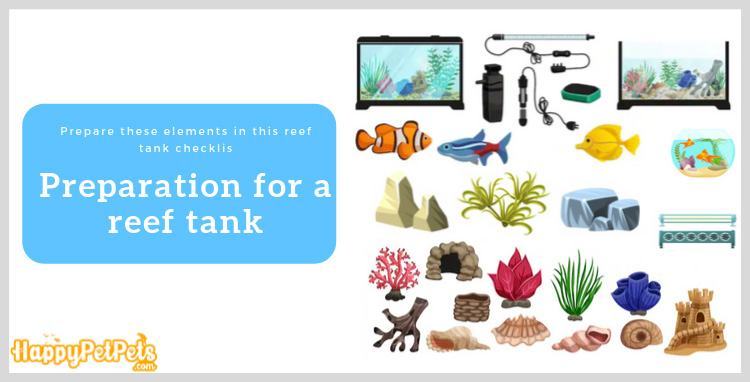
Preparation for a reef tank
Before coming in details about how to start a reef tank step by step for your own, you should prepare these elements in this reef tank checklist in advance:
How to Start a Reef Tank Step by Step
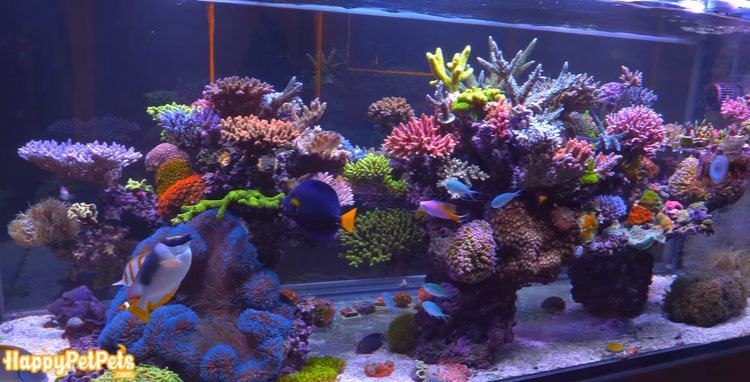
DIY saltwater aquarium setup
Step 1: Make Your Plan and Get All the Equipment
- First, think about which fish species will be in your reef tank. There are a lot of marine fish you can choose but if you are doing this for the first time, make sure you collect those fish species that are hardy and well-behaved to simplify your task.
- Decide how many fish there are in your new marine aquarium, then pick out the fitting tank. The reef tank should be in wide-shape rather than narrow-and-tall type for easier raising and maintaining process. The tank size, no matter you want to create a big aquarium or a nano reef tank, just choose the one you think that you can take care of it.
- Make a big picture of how your reef tank will look. Choose corals and other decorating items to match your design.
- Prepare all needed equipment such as protein skimmer, good aquarium heater, good canister filter, refractometer, led light for reef tank, etc. and don’t forget a saltwater tank kit for testing.
A reef tank necessary things is quite different from the basic saltwater tank setup checklist so you should be more careful when buying all of these items.
Step 2: Prepare the Tank and Its Specific Water
- Find a solid place to put the reef tank. Each gallon of a reef tank can weigh around 8-12 pounds, so the tank location must be stable and steady enough to hold that heavy aquarium.
- Consider putting the reef tank close to an outlet and even better if that place near a sink.
- Pour some water into the tank to check if it leaks. You can use your hand to touch everywhere outside of the tank (especially the tank edge) to feel the water splitting out. You should replace a new tank as soon as you find out there is a leakage before setting up the whole reef aquarium.
- Prepare the saltwater: Use tap water or RO/DI water, add a few drops of dechlorinating liquid and pour some of this water into the tank. Combine the add-in water with synthesis salt mix according to the indicated proportion.
- Fulfill the tank with water.
- Use a refractometer to measure the tank gravity. If it is higher than required, you can low the gravity by removing some tank water, and replace it with fresh water. Otherwise, add in more salt mix to reach the specific gravity.
- To finish the water preparation, test it with a saltwater tank kit. Check the pH, ammonia, and nitrite once a day in the beginning. When nitrates show up, and the ammonia level is low, your tank nitrogen cycle is working properly as needed.
Read more: Best Fish Tanks 2020: Our Top Picks For Every Budget
Step 3: Set Up the Equipment Into Your Tank
- Start with an aquarium heater. Base on you heater type, you can locate it in the tank wall, hang it or totally submerge into the water. Heaters should place near the filtration system to adjust your reef tank temperature more effective. Keep your water temperature under 26°C (about 80°F), and check it with a thermometer frequently.
- Put a powerhead into your reef tank to make a stable water movement, create more oxygen, as well as cool down the tank in case the temperature is too high. Water flow in a fix direction can help the coral grow better.
- Set up the light for your reef tank. A nano reef tank lighting in the form of LED lights will work great, while a larger tank needs metal-halide lamp to have more light intensity and PAR result. Focus on light with a blue spectrum rather than red or yellow, and do not overheat the tank.
- Your reef tank filtration system is the next target. Put the filter in, along with the best reef tank sump (if needed). Other equipment like protein skimmer or reactors can stick to this filter.
Step 4: Decorate Your New Reef Tank
- Prepare your live rocks and sand substrate. After buying live rocks for the tank, you should get rid of sponge and algae, then put them in a filtered tank with no light for a while (better up to one month). Although it takes a lot of time, it will bring you back live rocks with good algae and bacterias. Fortuitous microorganisms will be removed, which is great for the biological filter in the tank.
- Put the prepared live rocks directly to the reef tank bottom. One little tip is placing the rock far away from each other and the tank wall. With a design like this, you can ensure the water flow is enough for the live rocks and your tank cleaning task – easy as ever.
- Once the live rocks are set up, clean the sand substrate with tap water. One of the best substrates is grand sand with a size of 1-2mm. Then pour them into your reef tank to make a sand layer that its height is less than 2 inches, or more than 4 inches.
- Decorate your reef tank as what you have planned with all the items left.
Step 5: Add Reef Safe Fish and Corals for the Aquarium
- Choose coral and put them in the tank. You shouldn’t put hard and soft coral in the same tank to reduce the risk.
- For the fish, make sure you select the species which don’t eat the coral and other fish in a tank. You should only buy the fish after everything is ready.
- Acclimate the fish with your tank conditions. You can choose an acclimation method like floating bags, bucket, or dripping to help the fish get used to the prepared water. They share the same concept: Replace a part of your fish water (the water that fish live in when you bring them back from the store to your house) with the new water in your reef tank. Wait at least 1 hour and gently put the fish into your aquarium.
Step 6: Maintain Your Reef Tank
- Check the temperature and specific element levels in your reef tank regularly.
- If your thermometer results in a different temperature than what it should be, you must examine if your aquarium heater is broken or not. In case it’s broke, buy a new one or let the professional fix it. While waiting, you can manipulate the tips to keep your fish tank warm without a heater to give your fish an appropriate water condition.
- The nitrogen cycle plays a significant role in your fish and coral growth. Therefore, using an ammonia testing kit to check the nitrite proportion and reducing the ammonia level in your reef tank is what you need to do.
- Do partial water change periodical. The ideal frequency is changing 20-25% of your existing water once a week. If you are looking for more invertebrates or other microorganisms in the tank, reduce to one water change a month.
- Cleaning the algae on the tank wall and other equipment every two months or wait for a longer time, it’s up to your reef tank condition.
Conclusion
If you’re already know how to start a saltwater tank, you may find this guide about how to start a reef tank step by step a bit different in fish type, equipment, and setting method. A reef tank will be more interested than a normal saltwater aquarium thanks to the coral. If you love this, set your own reef tank right away to welcome a new marine family to your house.
This ‘How to start a reef tank step by step” guide is quite short but has enough useful information that helps you to make a DIY saltwater aquarium on your own. That’s great, right?
Don’t forget to like, share, or comment on this post your opinion and any problems it might have when you set up a reef tank, we’re right here to support you.
Related keywords: starting a reef tank, reef tanks for beginners, setting up a reef tank, reef tank setup, reef aquarium setup, setting up reef tank, how to set up a reef tank, reef tank for beginners, starting a saltwater reef tank, how to set up a reef aquarium, how to setup a reef tank, how to start a saltwater reef tank
Similar Posts:https://happypetpets.com/category/aquariums-accessories/fish-tanks/
Source: https://happypetpets.com/

